Top Image

Top Image

Monday, December 17, 2018

On the Road to Rimini


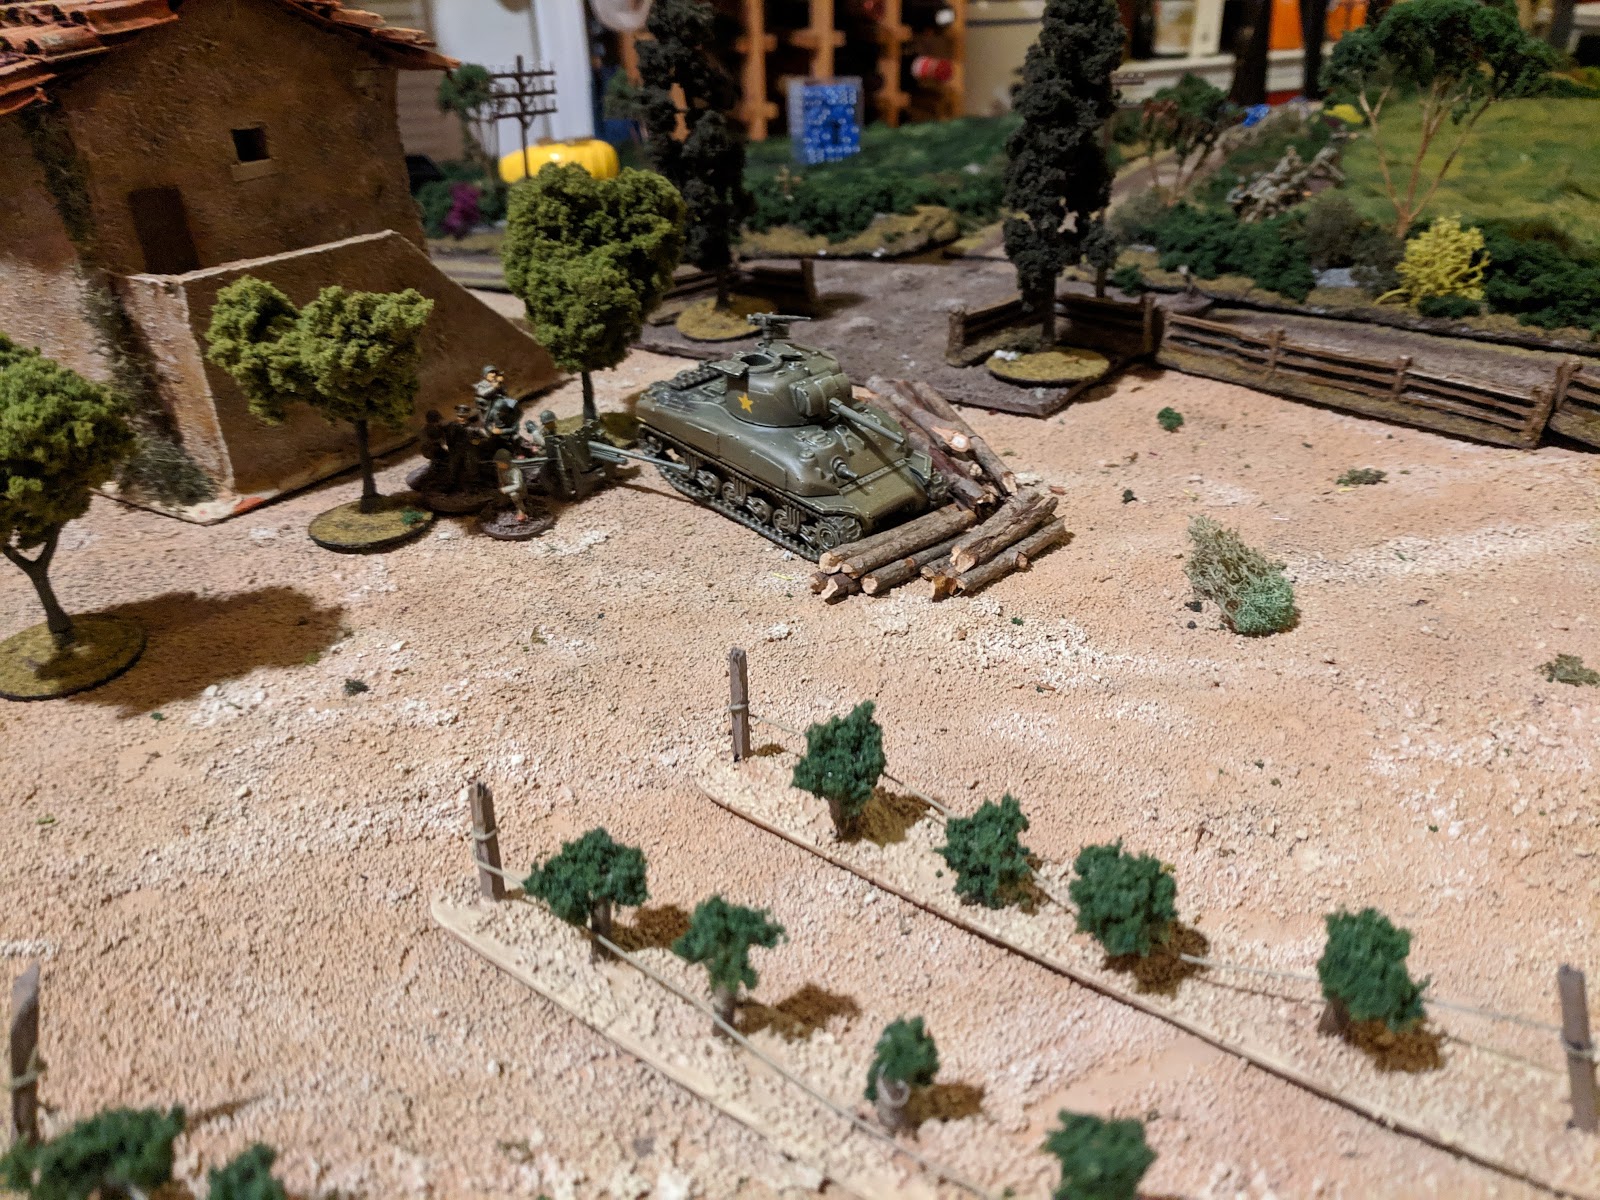
The road to Rimini is dotted with small hilltop towns bristling with German machine gun nests.  Elements from the American 5th Army need to secure the main road, but at a critical juncture it is overlooked by the Convent of Santa Clara, occupied by the German invaders.  A game of Big Chain of Command will decide the fate of both armies.


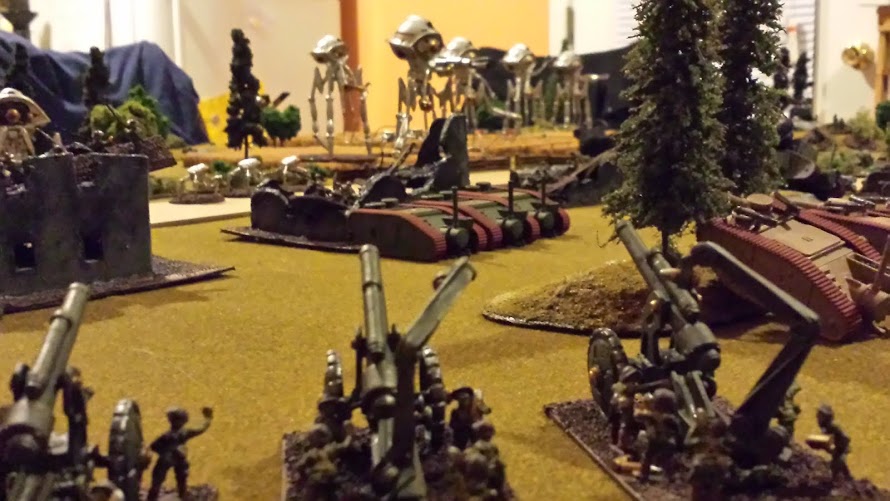
The Americans probe cautiously with a Sherman, and the German armor replies in force.  Three Panzer IVs creep out of a defile further down the road and start firing.


Despite the Sherman being shielded by an entrenchment, it's main gun is damaged by an enemy shell.


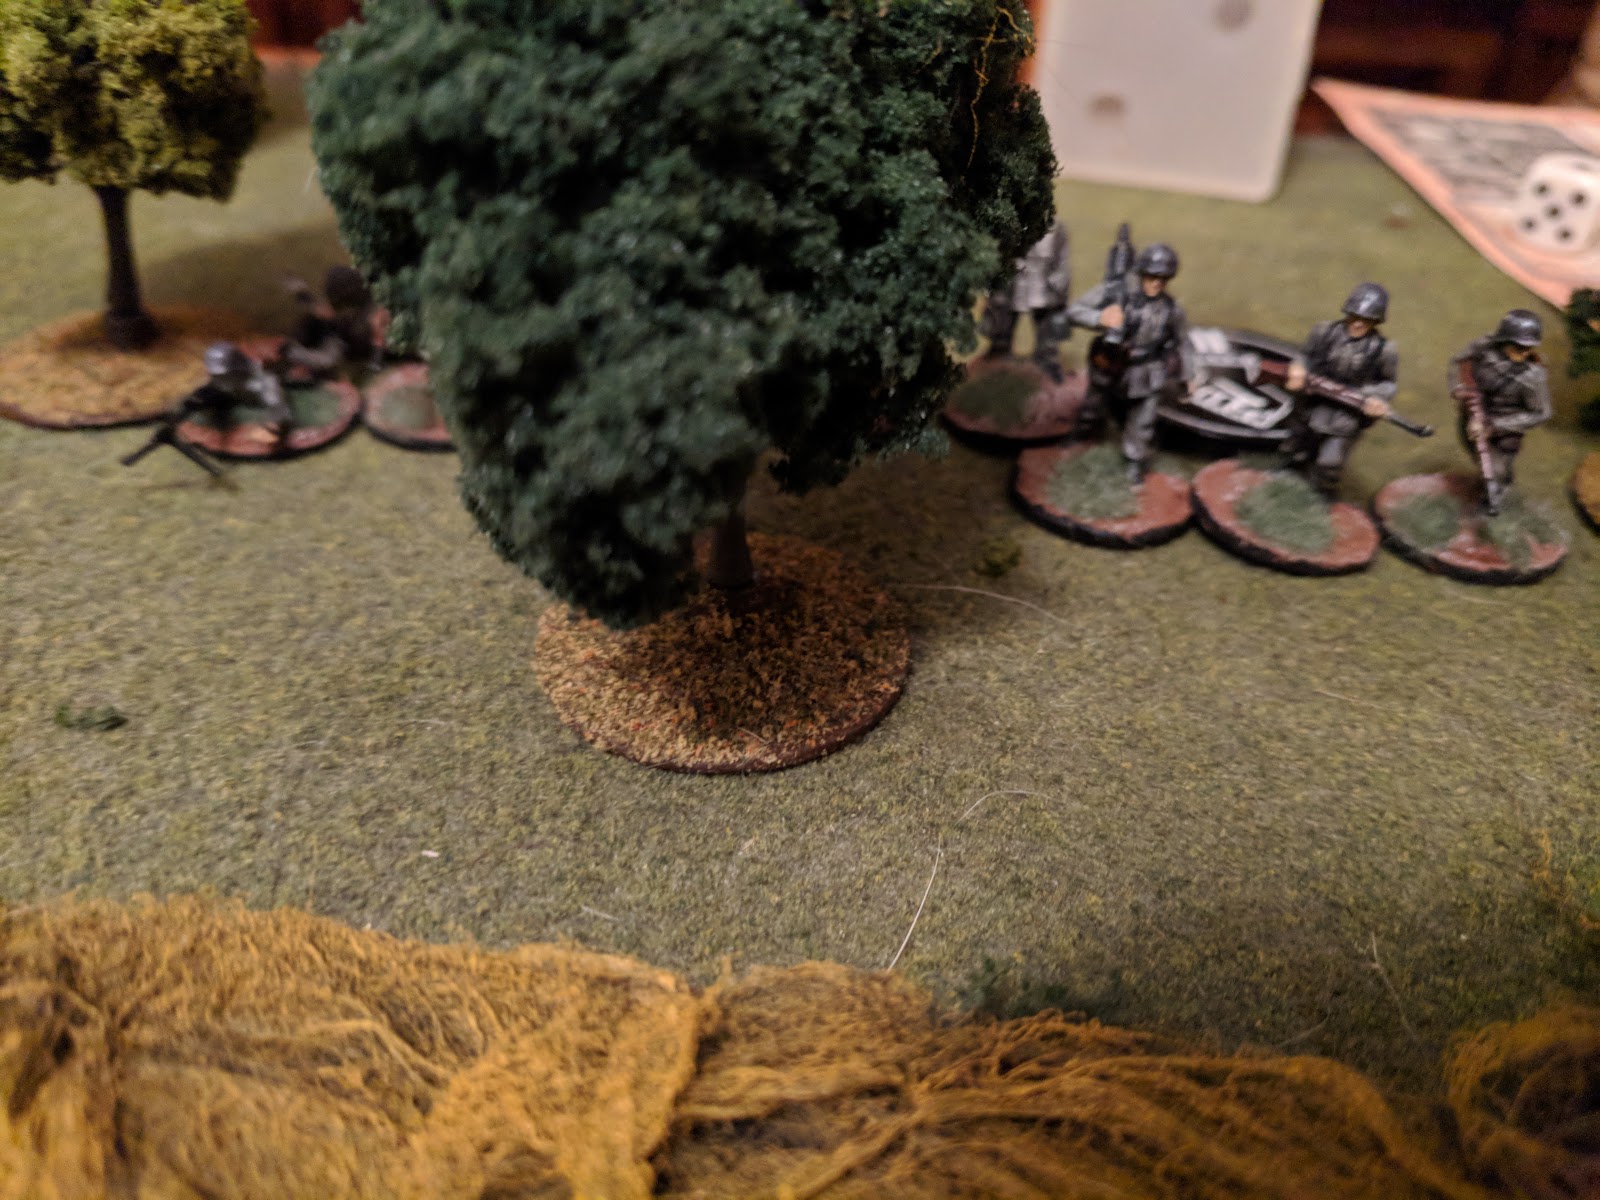
With the armor keeping the Germans busy on the road, the American infantry starts to prepare for the long, dangerous climb to the edge of the tiny town.  The plan is to take the building on the left, and enter the convent that way.


Sister Maria clutches her rosary, but who is she praying for?


Father Sabastiano tries to convince her to take cover inside as two Stugs move to take up position.


Additional American armor gives support to the infantry who are facing a German machine gun nest firing down from the building on the edge of town.  Using covering fire and careful tactics, they move between cover, at some cost. Eventually the fire from the Sherman forces the Germans to withdraw out of firing range.


When the machine guns fall silent, the Americans race up the hill across open ground.


The infantry crests the hill just as the Germans return to their position.  It turns into a blood bath for both sides as the first Americans to the door kick it in and rush with bayonets charged.  Two American sections, damaged and demoralized, manage to barely wipe out the single German Panzergrenadier section inside.  However, another group of Germans quickly retakes the house.  In the process, both the American and German infantry platoons see their morale break.  The remainder of the American platoon, seeing their Lt. and fellows lost, pull back out of range. The Germans are likewise in a chaos in the convent, no longer an effective fighting force. 


Only the tanks remain to fight it out for the road.  The German commander's tank is knocked out by a M18 Tank killer, but the commander is seen with his crew slinking to the rear.


Return fire from the Germans sees Sherman tanks popping right and left.


One of the Stugs finds partial cover at the edge of a building and snipes down at the Americans.


Sensing weakness, the German tanks advance. The Americans, seeing that the Convent can not be taken without additional support, withdraw.  A great 4-player game of Chain of Command! 


Thursday, August 16, 2018

CoC: Revisiting the Flanking Scenario

Last time I played CoC, we had my Americans attacking Fritz's Germans in the Flanking Scenario, and it proved extraordinarily difficult for the attacker. As a test, we decided to replay the scenario exactly, except with Germans now counter-attacking. 

The table was as close to identical as we could make it.


I even put my last jump off marker, the scenario objective, in the same place Fritz did.


We begin!  Fritz comes on early with a Panzer III.  Surprising, given his 15 support points. I would have thought a Tiger, or at least a Panzer IV.  The Americans remain hidden.


Another Panzer III...


Ok, a whole PLATOON of Panzer IIIs.  This could be interesting.


A single infantry section trails the armored platoon, staying carefully hidden in the woods and well out of line of sight of the American jump off points.


Two tanks take up hull down positions in the ruins of a building.  The third catches up, preparing to go first through the orchard and make a run for the American jump off point, while the other two stand on overwatch.


A lucky end of turn roll sees the tanks' overwatch end.  The Americans take advantage of the brief lull to begin firing with a 76mm AT gun.


Things begin rather well... the Panzer III explodes taking out two men nearby, and loading the section with shock.


Unfortunately, accurate return fire from the two remaining tanks sends the AT team packing.  The junior leader survives, so it may be possible to bring them back later.


With the AT team on the run, the tanks give pursuit.


The infantry section follow the lead tank and take up positions.


A bazooka team appears - but the Germans interrupt, pinning them before they can fire. The rest of the squad shows up to support them, making it harder for the enemy to find them again amidst all the movement.


The German infantry are a tempting target, and in the hopes of gaining time to rally my AT guns, the machine gun section opens fire on the enemy.


The Bazooka, supported by a senior leader (who removes their shock) manages a difficult frontal shot on the Panzer III. It doesn't penetrate, but two hits cause the crew to bail out.


The German infantry breaks, first one team, then the other. They flee for the forest.  Morale on both sides is plummeting. The loss of two tanks and a broken section sees the German morale drop to a 3, costing them two command dice. American morale, broken down to a 4 thanks to the AT gun crew breaking and some officer hits, somehow remains steady.


The Americans go for a gamble. The last infantry section appears, far to the right of the action.  They move up on the double, racing towards the German jump off points.

This was not a "smart" move. Fritz still has two full sections off table, and it's likely that these guys aren't going to make it home.  They're ordered forward anyway. I want Fritz to expose some soft targets, as the bazooka team can't seem to connect to the final tank, yet the tank has no problem blowing the hell out of the infantry.  Let's see if Fritz is willing to give the bazooka breathing room...


As expected, another infantry section appears on the far woodline, and the tank starts throwing HE at the advancing squad. A hit to the junior officer sees me spending my last CoC die to avoid the morale hit.


But with the bazooka free to fire, it finally gets lucky, blowing out the final tank.  The German infantry, all still at their far table edge, can't hope to cross the entire table for the objective, especially now they they only have two command dice.  They melt back into the woods to fight another day.


An excellent, if stressful game.  Seriously, I had a headache when I left from clenching my teeth. Fighting three tanks with no armor of your own, even outdated tanks, is an anxiety inducing experience.

As for the scenario - Fritz and I agree that it is exceedingly difficult to meet the victory conditions without some extreme luck. I doubt we'll be trying this one again any time soon.  Anyone know where I can find some additional scenarios for Chain of Command?

Thursday, July 12, 2018

The Yanks are Here!

My American platoon is finally painted up and ready for the table. Fritz and I had a great game of Chain of Command yesterday, and I thought I'd share some pictures.   We played the Delaying Action scenario, which I think is easily the most difficult scenario available for the attacker.  We're tasked with taking a jump off point at the opposite side of the table (playing long ways), and ending the turn with a CoC die.  This is the only scenario I'm aware of where breaking the enemy would actually result in the attacker's defeat.  So it calls for patience and restraint, plus a fair amount of luck.

Taking a preliminary barrage as part of my 12 points of support, I decided to be aggressive.  A two man scout team rushed up to the farmhouse at the center of the board, neutralizing one of three enemy jump off points before it could be used to deploy. The early game definitely went my way.


When the Germans brought on a half track, the Americans responded with a tank destroyer.


Neutralizing the jump off point allowed a squad to move up on the right behind the house, but they were taking machine gun fire from the enemy half track in the distance.


Worse, the enemy was using a sniper to hunt officers.


I hoped an aggressive stance on the left would distract Fritz from the right side of the board.   It worked, but I just wasn't able to exploit it.


Cool pics though!


The Germans take the bait and deploy on the left, leaving me to deal with only the half track on the right.


AT fire from the Tank Destroyer is inaccurate, thanks to all the intervening terrain.


After about four misses, a shell connects, destroying the vehicle, but unfortunately not killing any passengers except the driver.


The Americans attempt to exploit the advantage by moving up their own half track, containing a machine gun section.


A German panzerschreck ambushes but misses its target.  The near miss was enough to get the machine gunners to dismount.


More Germans appear on the left. If I can get past them on the right, I have a chance at that far off jump off point, my objective, tucked into the right corner of the board.


Up until now the Americans had taken only light casualties, but even with one section pinned down near the objective and the two out of position to defend it, the sheer weight of the German machine guns was starting to tell. A squad leader wounded, then killed, another wounded, a senior leader killed outright by a sniper... despite their superior position and their overwhelming numbers, they simply could not manage to advance any further.  Making a desperate play, the machine gun squad mounts up into the halftrack and rushes forward, praying the Germans will keep their heads down. With one die, Fritz is able to activate a leader to take a shot with a panserfaust. It connects as the half track passes, destroying it and dismounting the passengers. The machine guns open up on the crew, wounding the last senior leader and breaking the American will to fight. The platoon retreats to regroup.  We'll find our way forward another time.


A great game, very tense.  Fritz and I both agree it is a really rough scenario but we're going to switch sides next game and see how the Germans do under the same conditions.